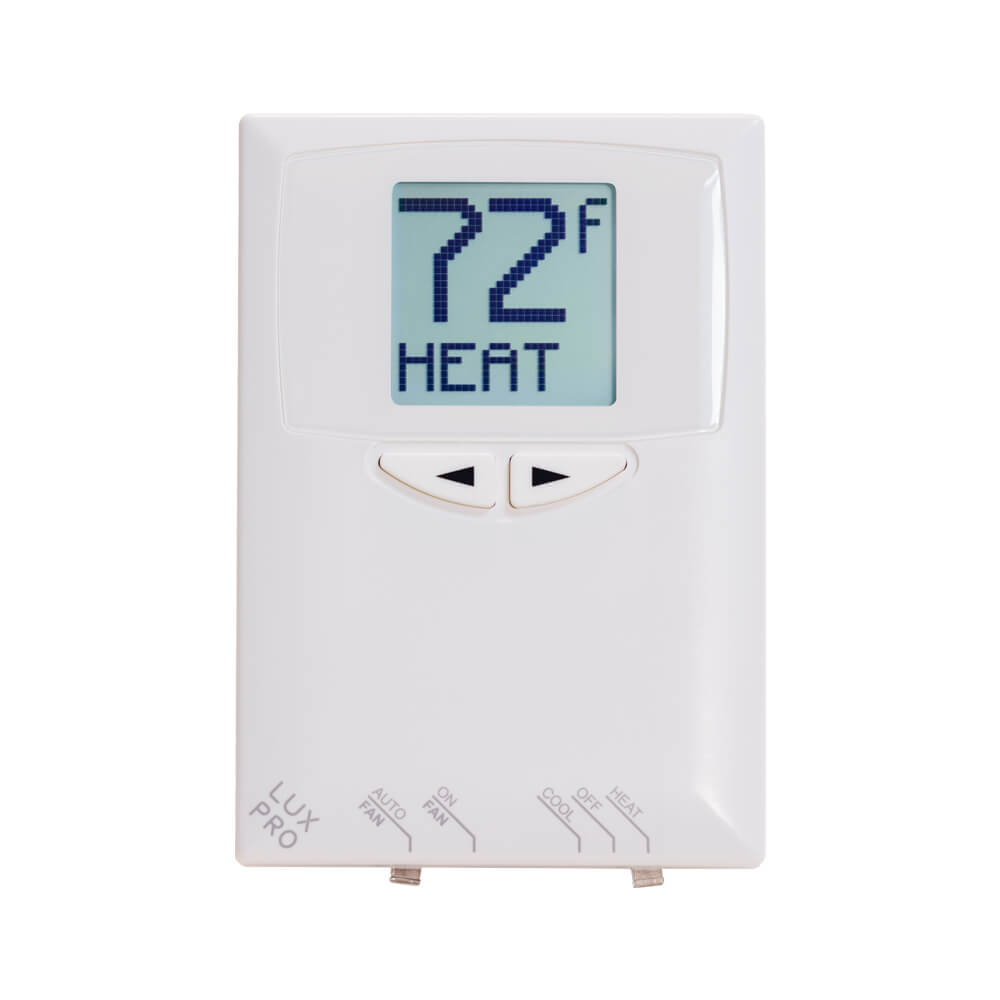
Luxpro psd111 auto changeover deluxe programmable thermostat.
Luxpro thermostat psd111 low battery.
Another feature is the availability of an air filter.
Dirty contacts can cause short circuits.
The contractor s non programmable choice for 1h 1c systems large back lit.
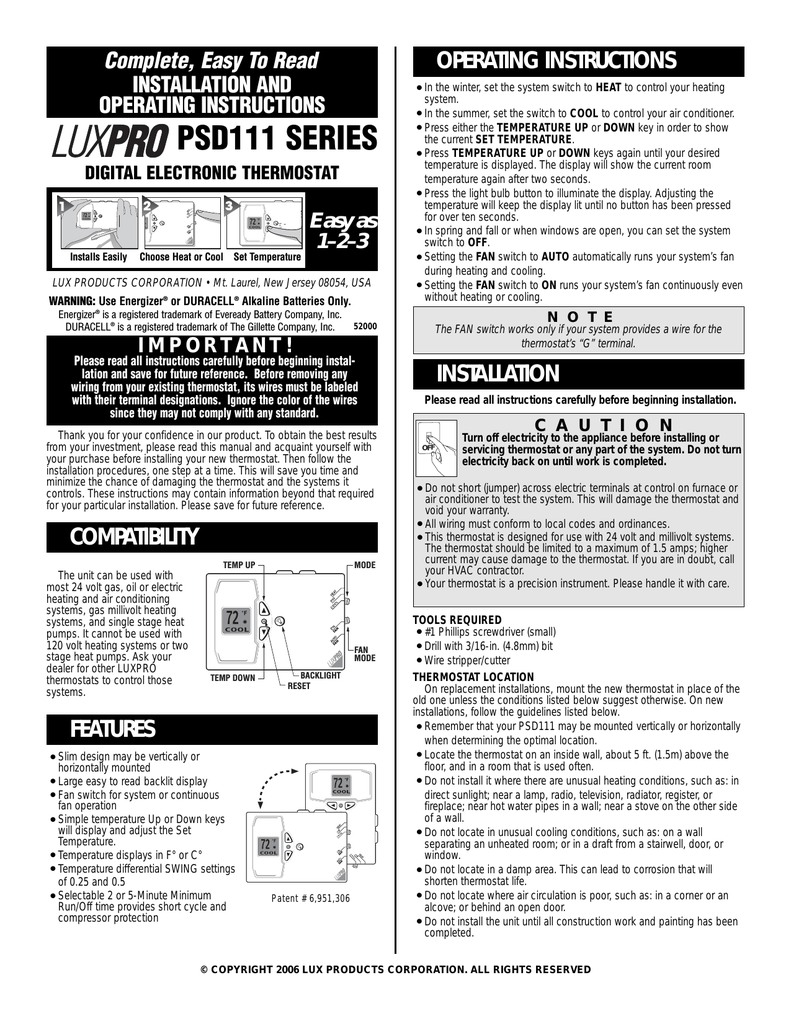
Remember that your psd111 may be mounted vertically or horizontally when determining the optimal location.
Luxpro part number psd011b item weight 8 ounces product dimensions 5 25 x 3 5 x 1 25 inches item model number psd011b batteries lithium metal batteries required.
If the battery contacts inside the thermostat are dirty clean them with a lint free cloth.
Psd111 features easy installation horizontal or vertical mount.
This will enable the second heating stage.
Lux psd111 luxpro digital non programmable thermostat 1 heat 1 cool electronic accuracy can be mounted horizontally or vertically large easy to read digital display el electro luminescent backlight temperature swing adjustment to as close as or 1 4o f c universal replacement system or battery powered low battery indicator optional.
Turn off your thermostat if you see a low bat warning flashing on your thermostat s screen.
My review and opinions of the luxpro thermostat.
There is no.
If it does not fix the problem do a software reset.
Luxpro thermostats include features such as 7 say programming wireless sensors two stage heating heat pump programming digital programmable and non programmable versions and heat or cool only options.
While most thermostats are relatively simple to operate and fairly intuitive to program problems may occasionally arise.
The batteries are high quality and can be replaced easily if they are not working properly.
The product comes with dual power.
Step 2 open the battery compartment on the side of the thermostat and remove the old batteries.
Fahrenheit or celsius temperature low battery indicator adjustable temperature swing 9 step temperature swing temperature calibration high and low adjustable temp limits.
The luxpro psd111 offers a 5 year warranty.
How do 1 set my thermostat to act as a manual thermostat.
On new installations follow the guidelines listed below.
Removing old thermostat label and remove wires one at a time.
Place dip switch 2 located on the back of the thermostat to the on position and.
Always try hardware reset first.
Place dip switch 1 located on the back of the thermostat to the on position and press the hw rst button.
Locate the thermostat on an inside wall about 5 ft.
Included is discontinued by manufacturer no size 3 5 x 5 25 shape rectangular power source battery powered item package quantity 1 number of handles 1 display style digital.
Make sure there is a wire connected to the w2 terminal.